Guide: How to Buy a Camera Lens
Guide: How to Buy a Camera Lens
So you have bought a camera but now that you have a camera how do you choose which lens to go with it? You could go with a stock lens or you can pick up a good lens like I did recently. But how do you choose? Here are the basic steps:
- Pick your focal length
- Choose Prime or Zoom
- Choose Aperture
- Choose brand
- Look at Extra features
- Check Reviews and Test
Focal Length
Lets talk about focal length breaks down like this:
| Focal Length | Type | Usage |
|---|---|---|
| 28mm or less | Wide angle | Indoors and Lanscapes |
| 28mm-90mm | Standard | Portrait and “Every Day” |
| 90mm-200mm | Telephoto | Portrait Outdoors/Sports |
| 200 or Greater | Super Telephoto | Wildlife and Sports |
Wide
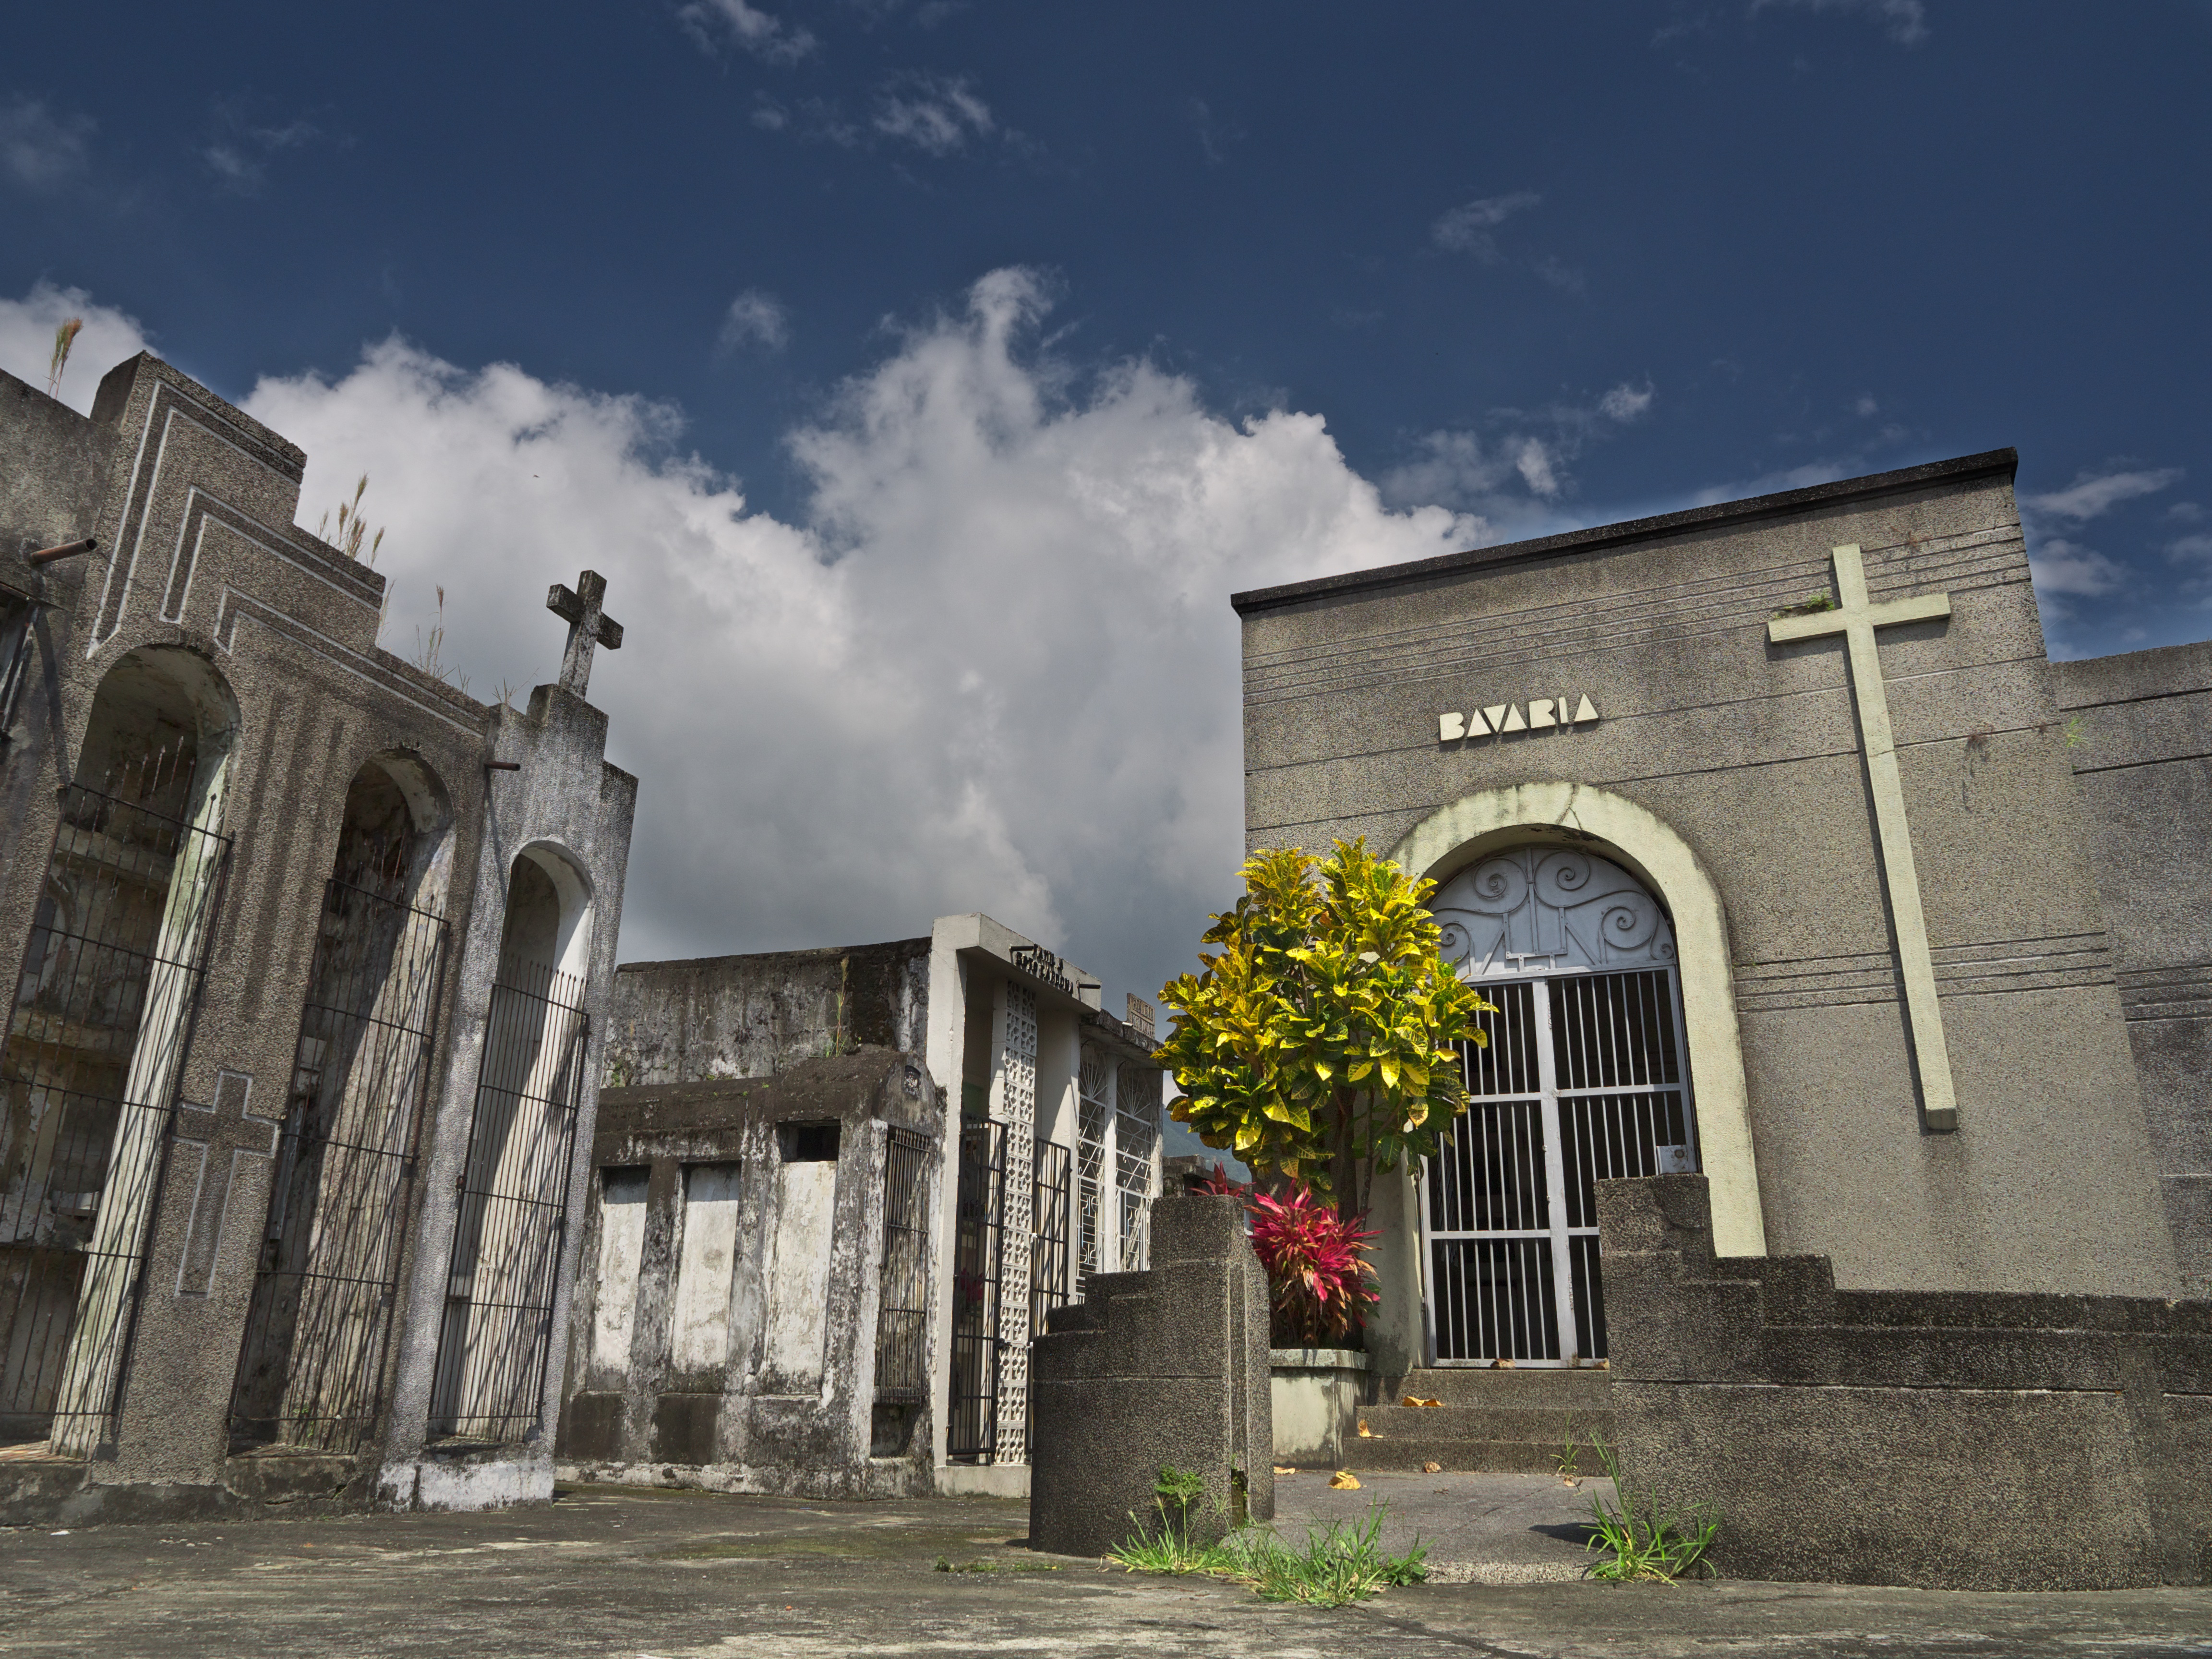
Wide angle offers a great option for taking events indoors or doing landscape. They capture just about everything and sometimes more. They are not great for portraits as they distort a person’s features. Perfect example of type of photographer who would use a wide angle is Landscape Photographer, Event Photographer, House/Home Photographer.
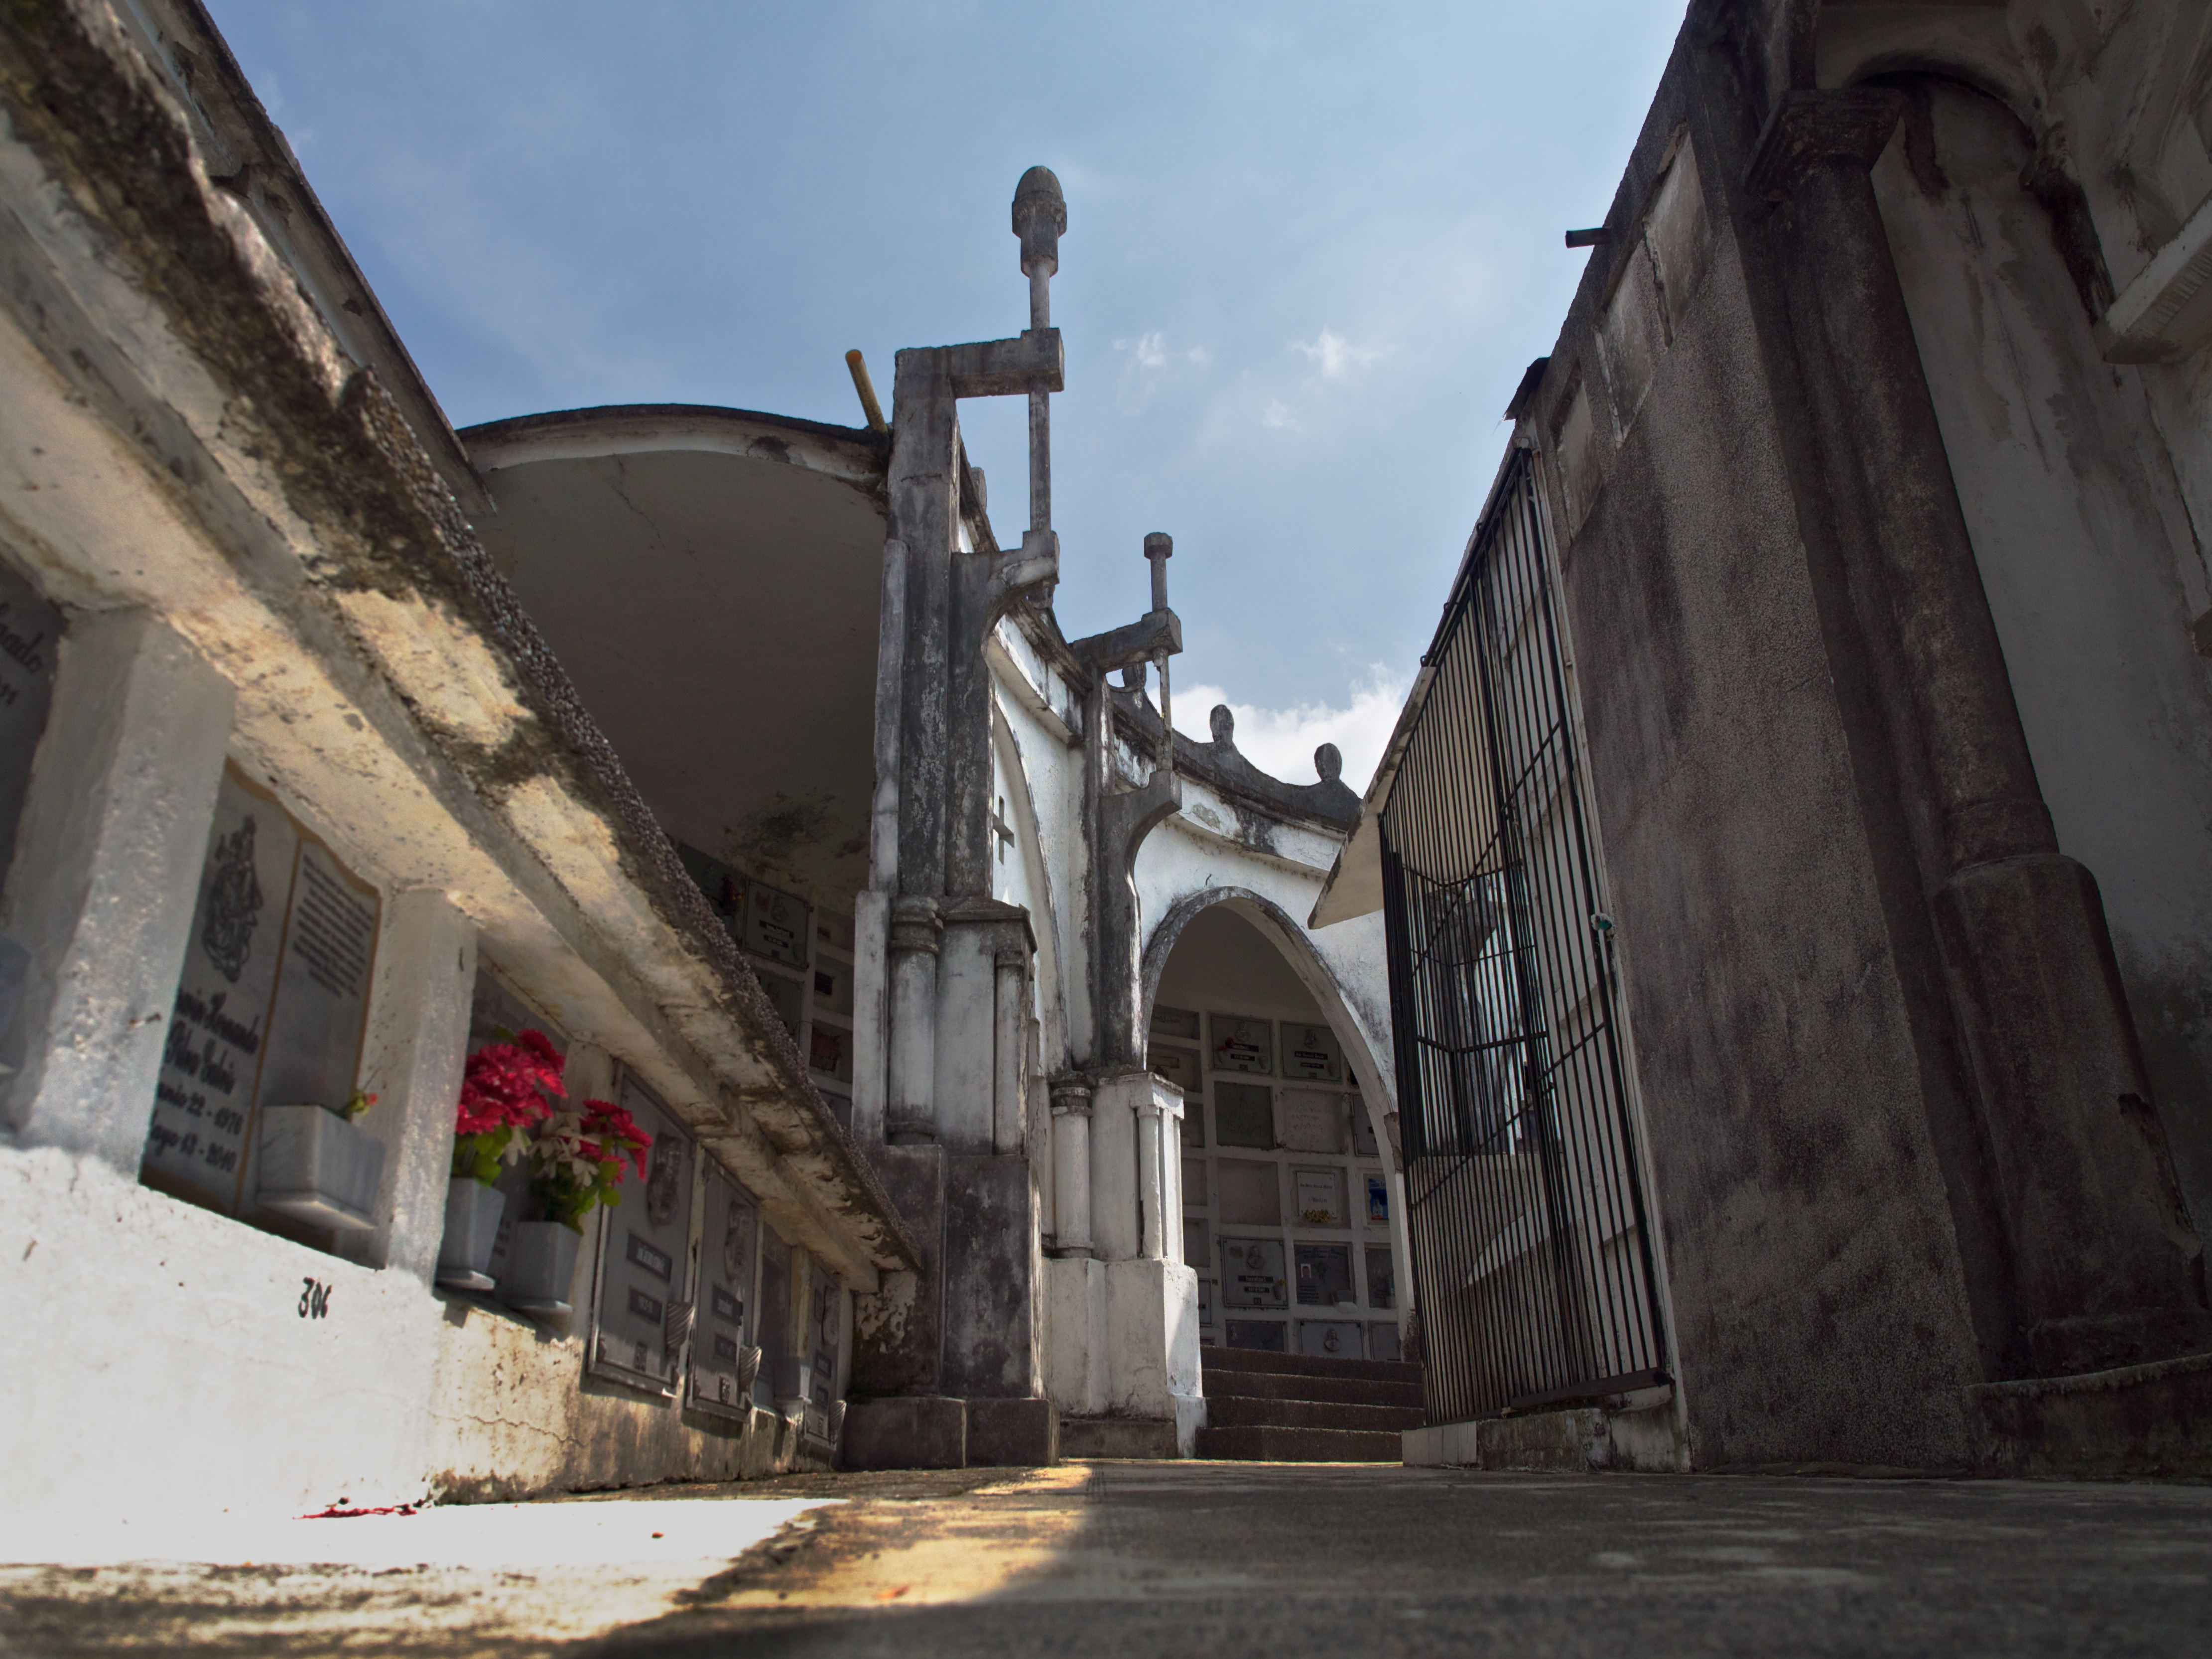
Testing the wide angle aspects of my new lens San Camilo Cemetery - Pereira
Standard
Standard lenses can be used for all types of situations. Mostly can be used for portrait photography where you capture more of the person. Also can be used to capture items such as product photography. These lenses are great for walking around lenses as well. These kind of lenses are used by Portrait photographers.
Telepohoto
Telephoto lens allows you to zoom in. They are good for all types of photography including outdoor events, some portrait with a little flattening (distortion), walking around lens, and also some sports. Basically these lenses allow you to get close to a subject. Kind of Photographers who use these lenses are Travel Photographers, Event photographers, Macro Photographers.
Super Telephoto
Super Telephoto are zoom in a lot. They allow you to capture something VERY far away and get close. Not great for portraits at all. They allow far away objects to be super close. These are most commonly used by Wildlife Photographers and Sports Photographers. Sorry I do not have an example of a Super telephoto lens.
Now remember that if you are using a non full frame camera you will have a bit more of a zoom 1.6x for APS-C cameras and 2x for micro four third cameras. A 45mm for a Micro Four thirds is equal to a 90mm.
Prime or Zoom
Great now you have chosen which focal length you want the next step is to choose Prime or Zoom. Prime are lenses that do not zoom or are fixed focal length. They are nice as they are cheaper as they do not need much glass and because of that they tend to be lighter. The quality tends to be better as well including allow for a wide aperture (wider opening).
The drawback is that you need to have many lenses to fit the focal lengths you need. for example you might need a 35mm 85mm and 120mm.
Zoom lenses tend to get a range of focal lengths. You can get a 18-200mm which could be 18mm wide 85mm standerd or 200mm zoom.
These can be broken into Wide Angle Zooms, Standard zoom, Telephoto, Super Telephoto.
Zoom lenses tend to be a bit pricier and can tend to lower in quality due to multiple moving parts depending on other factors.
Aperture
Now that you have decided on prime or zoom the next thing to consider is the aperture. Aperture is the how wide of an opening the lens has. The wider the lens opening the more light can be let in. Cameras need light. The more light the faster your shutter can be and that means able to take moving photos easier.
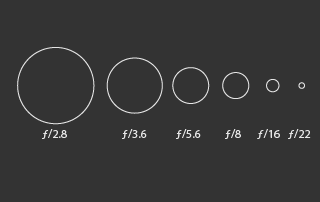
It is hard to explain aperture as the lower the number the wider the opening. This is measuring the distance between the edge of the lens to the edge of the opening.
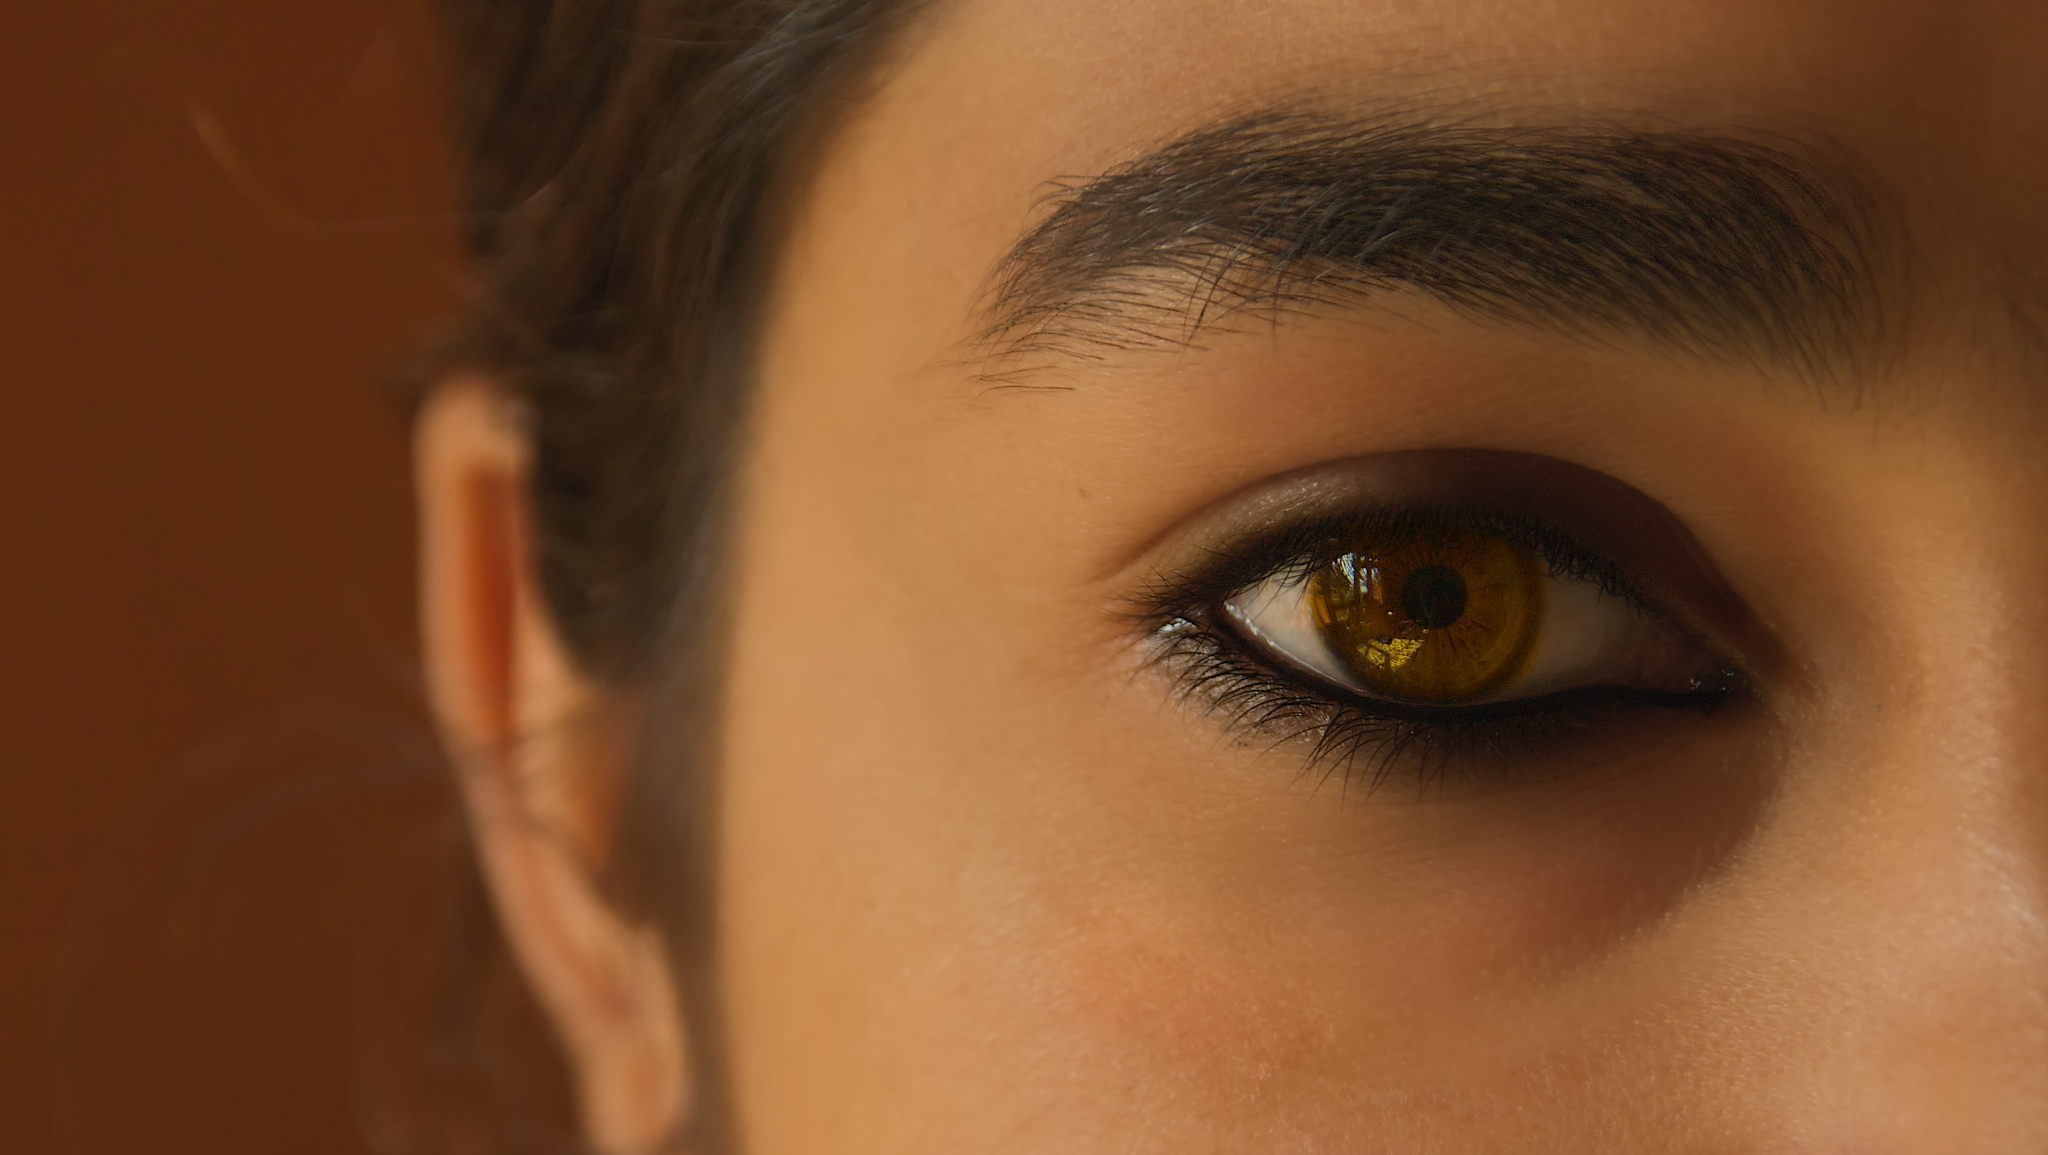
A wider aperture can now allow for your a greater depth of field. That means a blurry background. An aperture of ƒ/2.8 would have a blurrier background than a ƒ/8. That means an ƒ/16 aperture would have a flatter image.
This is important to know as there are fixed aperture lenses (like with Prime Lenses) or variable lenses like with some lower end lenses.
A fixed aperture means that it constant it will at all times have have the lowest aperture setting no matter how far you zoom out. For example a 100-200mm 2.8 will stay a 2.8 at 100mm or at 150mm or even 200mm unless otherwise you change it yourself.
A variable aperture changes the widest aperture, for example a 18-200 3.5-5.6 would have the best aperture of 3.5 when at 18mm and at 200mm would have 5.6 aperture at best.
So choosing the right lens with the right type of aperture is important. Again the wider the aperture (the lower the number) the faster the camera can take a photo. And constant aperture lenses will tend to costs more.
Branded Lens or Third Party
Now that you have a chosen the preferred aperture you would like on your lens the next step is to decide on going with the branded lens from your camera or to go with a third party.
If you go with a branded lens, the lens tends to work best with your camera. For example Olympus has built in profiles. These profiles allow the camera to compensate for distortion and vignetting of a lens (not going to be talked about here).
Branded lenses tend to have a higher quality of glass to them, although not always true. As a Carl Ziess lens would more likely have a higher quality of glass.
Features
The next step is to look at the extra features. Certain lenses have different features, like inner focus (focuses on the inside of the lens rather than protracting or contracting the lens) which is great for people who like to take shots in different angles. Image stabilization built into the lens. This allows for those with shaky hands to not worry about the image being blurry.

Olympus OMD Series has built in Image stabilization the camera, so you can buy lenses w/o image stabilization.
Review and Test Out
Lastly check out reviews of the lens. When looking for reviews of a lens check some aspects. Some technical and personal.
Tehchnical aspects could be things like chromatic aberration. This is where the light bends through the lens differently causing the colors to not line up. This tends to leave a fringe on the edge of the image and reduce clarity.
Distortion of the lens. Wide angles tend to distort a subject a lot. But looking at how much is important. You may like the distortion of artistic reasons. Reading how much distortion from a review will be helpful. There is two types of distortion, barreling and pinching.
San Camilo Cemetery, Pereira, Colombia Distortion at 12mm
Also check out the sharpness of a lens. That is the key. The higher quality sharpness there is the better. That is what makes you’re picture come out the best.
Don’t dismiss the reviewer’s opinion about the lens too, but be mindful that it is only an opinion. My suggestion is going and trying and testing the lens for yourself. Check out your local camera store to see what they offer.
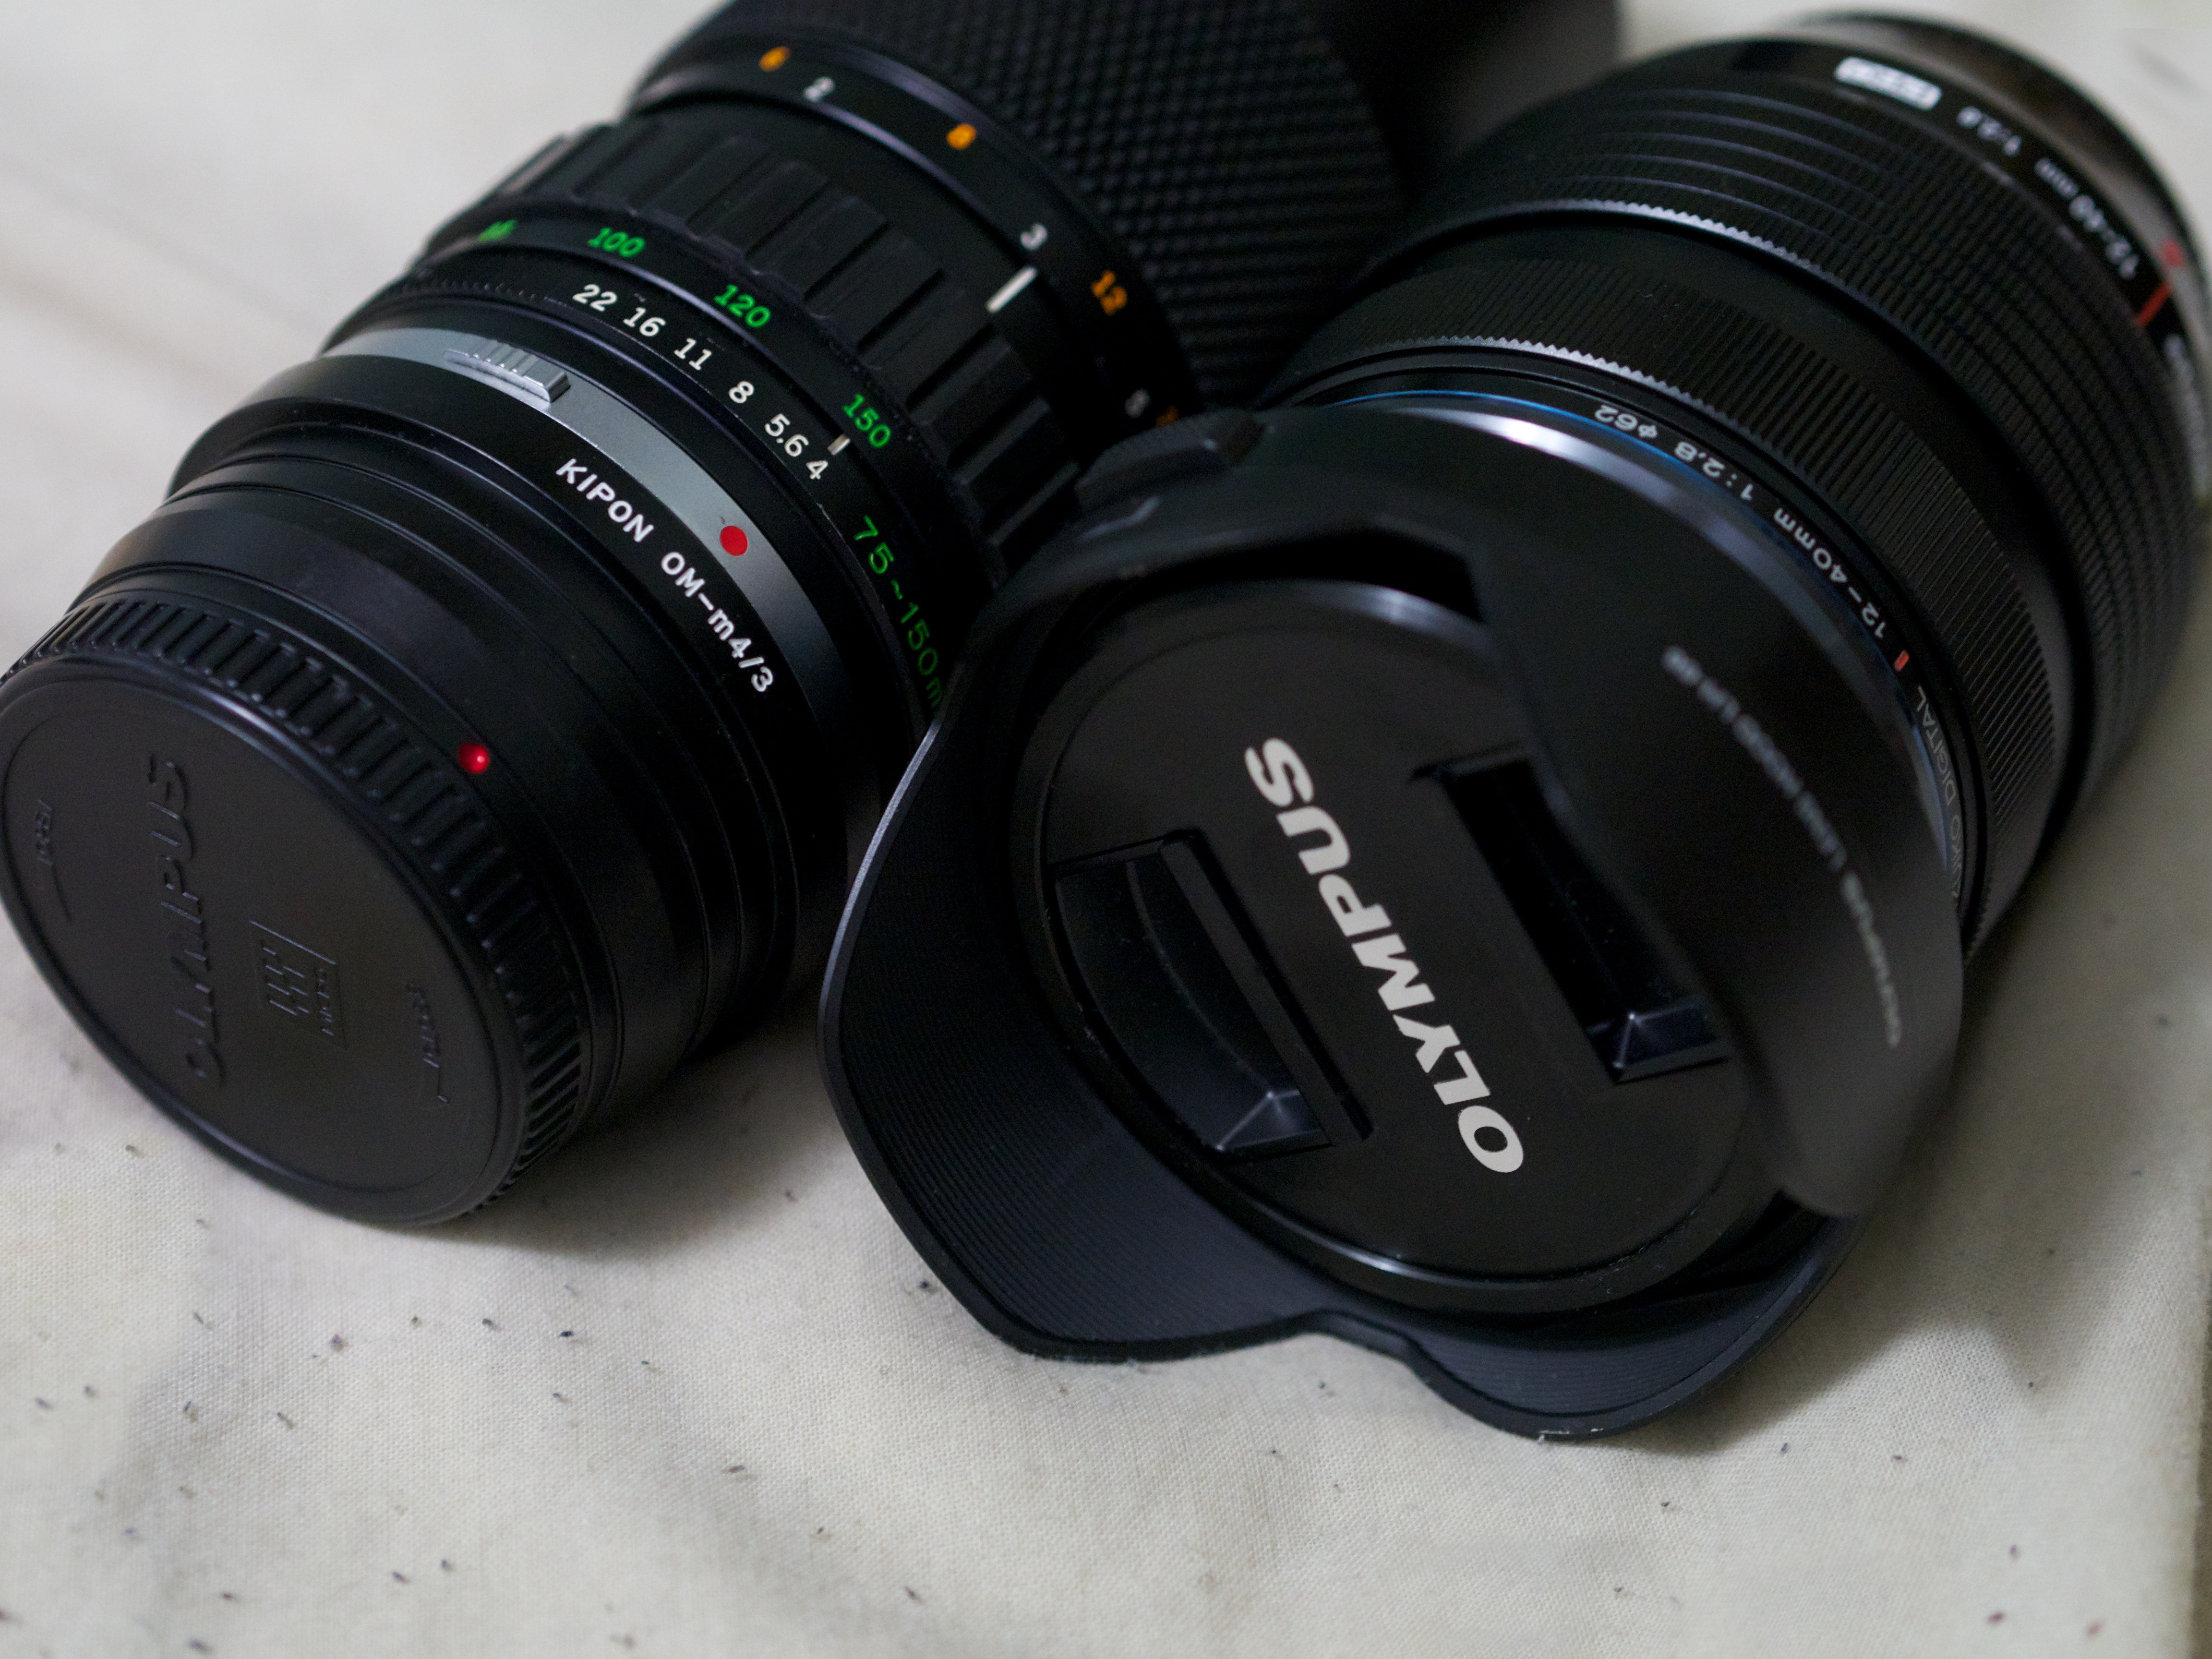
My Collection
Here is a Collection of lenses I have:
Canon
- Canon 24-70mm ƒ/2.8L USM
- Canon 50mm ƒ/1.8 (great buy)
- Sigma 18-200 ƒ/3.5-5.6 (was the first lens I bought)
- Canon 70-200mm ƒ/2.8L USM (Only owned for a week before it was too much money for me)
Olympus OMD
- Olympus M. Zuiko Digital 17mm ƒ/1.8
- Olympus M. Zuiko Digital 45mm ƒ/1.8
- Olympus M. Zuiko 12-24mm ƒ2.8 Pro
- Panasonic Lumix G X Vario 35-100mm ƒ/2.8 ASPH.
- Olympus Zuiko 75-150mm ƒ4-5.6 (with adapter, originally for OM film camera)
What do you think? Do you find this review helpful? Do you have anymore questions? Let me know and what you think. Leave a comment below, send me a tweet on twitter, or post on my facebook. Heck even send us a message. Let me know so I can help. Happy travels ![]()
Erick Redcloud
A partially blind Graphic Designer, Freelance Travel Photographer, Artist, Buddhist and Vegetarian who loves to travel. Erick loves traveling by being with the locals and going off the beaten path. He is the founder and owner of Pathlesstravels and loves inspiring others to follow their dreams, whether it is to travel or something completely different. He started Pathlesstravels to hone is photography skills and to meet amazing people, and to help a friend break into journalism. Check out his photography at his link.
Follow Me:


Google+
Advertising